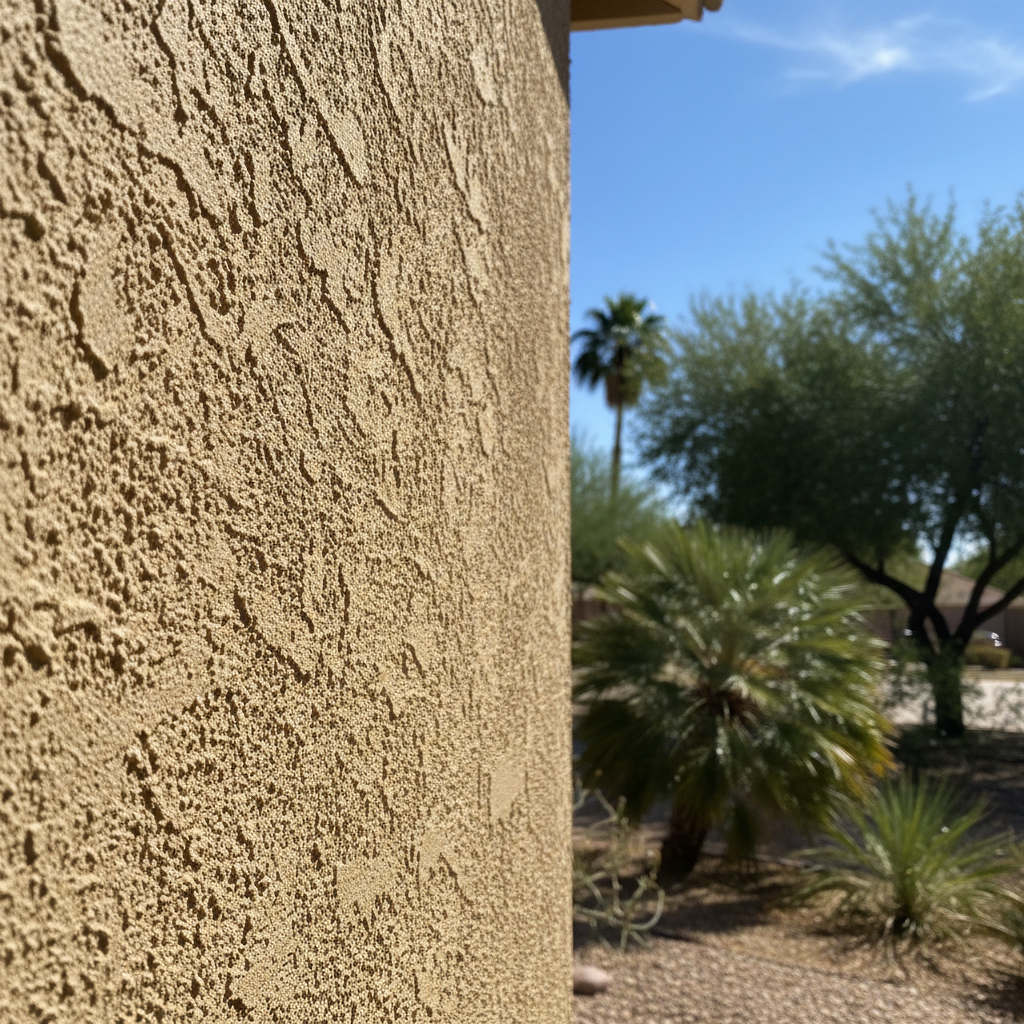
Thinking About New Stucco for Your Peoria Home?
So, you're thinking about new stucco for your house. Maybe you're building from scratch, or you're knee-deep in a big renovation project. Whatever the reason, it's a pretty big deal, and you probably have a bunch of questions. I've been doing stucco work here in Peoria for years, and trust me, I've seen it all. Let's really dig into what you need to know before, during, and after a stucco installation — and where you should probably draw the line on DIY.
Before You Even Think About Mixing Cement
First things first: get a handle on the whole project. Stucco isn't just about slapping some mud on a wall. It's actually a multi-layer system, built to shield your home from the elements, especially that brutal Arizona sun and those sudden monsoon downpours. Before you even buy one single bag of mix, you've got a few things to consider:
- Permits: This isn't something you can skip. Any major exterior change, especially if it affects the structure or the weather envelope, almost certainly needs a permit from the City of Peoria. Seriously, don't ignore this. Fines are way more expensive than the permit itself, and you might even have to rip everything out later.
- Substrate Condition: What's hiding underneath? If you're going over old siding, brick, or even existing stucco, how you prepare the surface is everything. You can't just cover up rotten wood or crumbling block. The surface has to be solid, clean, and prepped correctly for the new stucco to stick and actually last.
- Drainage and Flashing: This is huge, absolutely critical. Water is stucco's worst enemy if it manages to get behind it. You need proper flashing around all your windows, doors, and at the foundation line to steer water away. If your house isn't set up right for this, you're just asking for trouble down the road. Especially with our expansive clay soils here in Peoria, any moisture problems at the foundation can create real headaches for homeowners.
As for DIY at this stage? Sure, you can research permits and take a good look at your existing walls. But when it comes to figuring out the substrate's condition and planning the flashing, that's where a professional's eye becomes priceless. We know exactly what to look for.
The Installation Process: Where DIY Gets Tricky
Okay, now let's talk about actually putting the stucco on. This is usually where most homeowners really overestimate what they can realistically do well.
- Lath and Paper: This is the first layer once your substrate is all prepped. It's typically a weather-resistive barrier (like building paper or synthetic wrap), followed by metal lath. The paper keeps moisture out, and the lath gives the stucco something to grab onto. Getting this installed flat, tight, with the right overlaps and fasteners, is absolutely crucial. If this part isn't perfect, you're basically setting yourself up for cracks and water getting in.
- Scratch Coat: This is the first layer of stucco mix that goes onto the lath. We call it a scratch coat because, well, you scratch it. This creates a rough surface so the next coat has something to bond to. Getting the mix consistency right, applying it at the proper thickness, and curing it correctly are all super important here.
- Brown Coat: Think of this as the leveling coat. It goes over the scratch coat, filling in any bumps or dips and bringing the wall to its final, smooth plane. This coat needs to be straight and true because it dictates how your finish coat will look.
- Finish Coat: This is the part everyone sees. It's the color and the texture. There are tons of options out there — smooth, sand float, dash, lace, worm finish, you name it. Achieving a consistent look across a whole wall, let alone an entire house, really takes skill and experience.
Can you DIY some of this? Maybe a very small, unimportant patch if you're super handy and patient. But for an entire wall or a whole house? Honestly, I wouldn't recommend it. Getting the mix ratios spot-on, applying it evenly, managing drying times in our dry heat, and making sure the finish looks uniform across big areas is incredibly tough for someone who isn't a pro. You'll probably end up with an inconsistent look, potential cracking, and a finish that just doesn't hold up.
After the Stucco is On: Curing and Care
Once the stucco is applied, the job isn't quite finished. Proper curing is essential for it to be strong and durable. Stucco needs moisture to cure right, especially in our desert climate. This often means misting it with water for several days after it's put on. If it dries out too fast, it won't reach its full strength and can crack.
After it's fully cured, your stucco should be pretty low maintenance. Just keep an eye out for cracks, particularly around windows and doors, or at the foundation. Small hairline cracks are normal, but anything bigger or expanding should definitely be checked out. Keep your gutters clean and make sure water isn't constantly running down your walls from sprinklers or roof runoff.
For most homeowners, the installation itself is where you truly need a pro. Here at Peoria Stucco & Plastering, we've got the tools, the crew, and the know-how to get it done right the first time. We understand the local conditions and exactly how to make stucco last in this environment. You can handle the research, the initial cleanup, and the ongoing maintenance, but for the heavy lifting and skilled application, you're just better off trusting someone who does it every single day.