So, you're thinking about stucco for your home here in Peoria. Maybe you're building new, or maybe you're looking to refresh an older place. It's a great choice for our desert climate, no doubt about it. But before you grab a trowel and a bag of mix, let's talk about what's involved. I've seen a lot of stucco jobs over the years, good and bad, and I want to give you the straight scoop on what you need to know.
Before You Start: Planning & Prep
First off, can you DIY stucco? The short answer is: some parts, maybe. The whole thing? Probably not, unless you've got some serious experience. Stucco isn't like painting a wall; it's a multi-layer system that needs to be done right to last. If it's not done right, you'll be dealing with cracks, moisture issues, and a lot of headaches down the road. Trust me, I've seen plenty of houses in older neighborhoods like Sun City where a quick patch job turned into a full-scale nightmare because someone didn't understand the underlying issues.
Here's what you absolutely need to consider before any work begins:
- Permits: For any significant exterior work, especially structural changes or new installations, you're going to need a permit from the City of Peoria. Don't skip this. It's not just a formality; it ensures the work meets local building codes and standards.
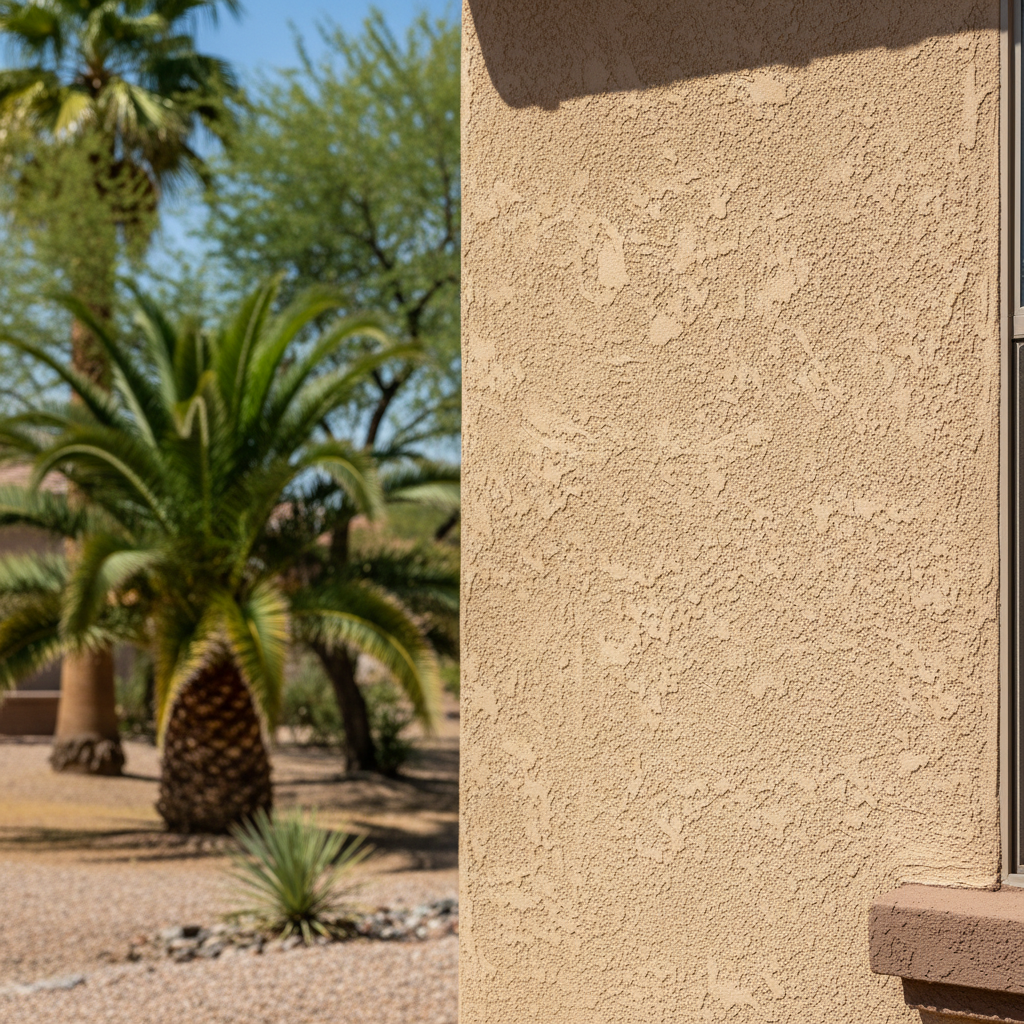
- Understanding the Layers: Stucco isn't just one coat. It's typically a three-coat system over a lath (metal mesh) and a moisture barrier. Each layer has a specific job. The scratch coat provides a base, the brown coat evens it out, and the finish coat gives it texture and color.
- Materials: You'll need cement, sand, lime, and water for traditional stucco. Modern synthetic stuccos (EIFS) are a whole different beast. Make sure you're using materials suited for our intense Arizona sun and occasional monsoon downpours.
- Tools: Trowels, hawk boards, mixers, scaffolding, safety gear – the list is long. It's a significant investment if you don't already have them.
What can you realistically DIY here? Maybe some very minor repairs or patching small cracks if you're handy and willing to learn. But for a whole wall or a new installation? That's where you really need to think twice.
During the Project: The Nitty-Gritty
If you decide to tackle a small repair yourself, here's the basic rundown. First, clean the area thoroughly. Remove any loose stucco, dirt, or debris. If there's lath exposed, make sure it's secure. Then, apply a bonding agent if recommended for your specific repair. Mix your stucco according to the manufacturer's directions – consistency is key. It shouldn't be too wet or too dry. Apply the stucco in thin layers, building it up to match the existing surface. Feather the edges so it blends in. This takes practice, and it's harder than it looks to get a smooth, consistent finish.
Now, if you're doing a larger project, or even a whole house, this is where a professional really shines. We've got the specialized equipment, the experienced crew, and the know-how to get it done efficiently and correctly. When Peoria Stucco & Plastering takes on a job, we're not just slapping mud on a wall. We're ensuring proper flashing around windows and doors, correct lath attachment, and consistent application of each coat. This prevents water intrusion, which is a huge deal out here. We're also working with the right scaffolding and safety measures, which is something homeowners often overlook.
For a pro, the process looks like this:
- Surface Prep: Ensuring the substrate is clean, dry, and ready.
- Moisture Barrier & Lath: Installing building paper and metal lath securely. This is critical for preventing moisture issues.
- Scratch Coat: Applying the first layer, scratching it to create a bond for the next coat.
- Brown Coat: A thicker coat applied to level the surface.
- Finish Coat: The final, decorative layer that gives your home its look. This is where texture and color come in.
Each coat needs proper drying time, and you can't rush it, especially with our dry heat. Sometimes, you'll need to mist the stucco to help it cure properly and prevent premature cracking.
After the Installation: Care & Maintenance
Once your stucco is up, you're not entirely off the hook. Stucco is low maintenance, but not no maintenance. Here's what you need to do:
- Curing: For the first few days, especially if it's hot and dry (which it usually is here in Peoria), you might need to lightly mist the stucco with water. This helps it cure slowly and prevents cracking. Your contractor will give you specific instructions.
- Inspection: Periodically walk around your house and look for any hairline cracks. Small cracks are normal and often just surface-level. Larger cracks, especially those that are growing or letting water in, need attention.
- Cleaning: Stucco can get dusty, especially with our desert winds. You can gently wash it with a garden hose and a soft brush. For tougher stains, a mild detergent and water solution usually does the trick. Avoid high-pressure washers, as they can damage the finish.
- Repairs: If you do find damage, address it quickly. Small repairs are much easier and cheaper than letting them grow into bigger problems.
Ultimately, while you might be able to handle a tiny patch, for anything substantial, you're really better off calling in a professional. The longevity and integrity of your home's exterior are too important to cut corners. We've been doing this for years at Peoria Stucco & Plastering, and we know what it takes to make stucco last in this Arizona climate. Don't hesitate to reach out if you've got questions or need a hand with your stucco project.